
Your back patio is a lovely spot to spend time and bond with your family when the sun finally goes down. However, you might not be able to enjoy it on warm summer days because of the harsh sun. To solve this problem, you may want to think of ways to have shade on your patio. A retractable awning sounds like a good idea, especially if you’re having a party and you have a lot of guests coming over.
However, if your budget is a little tight, and you’re trying to look for something around 16’ x 16’, you might have to veer from the idea of a retractable awning. Instead, you may look for alternative ways to create a comfortable spot in your patio.
Why Use Sun Shade Sails for your Patio?
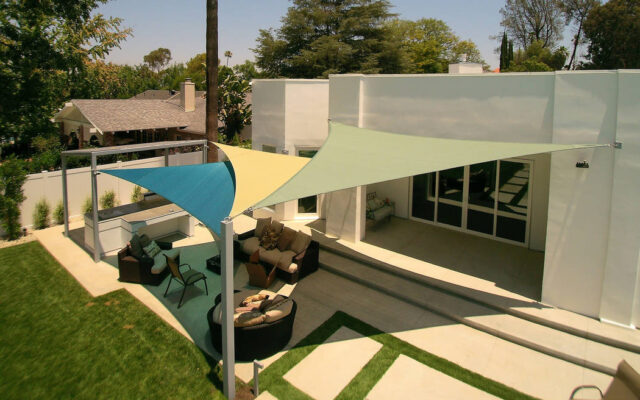
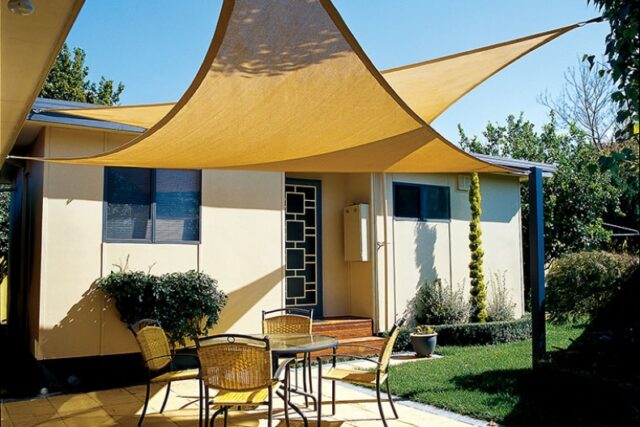
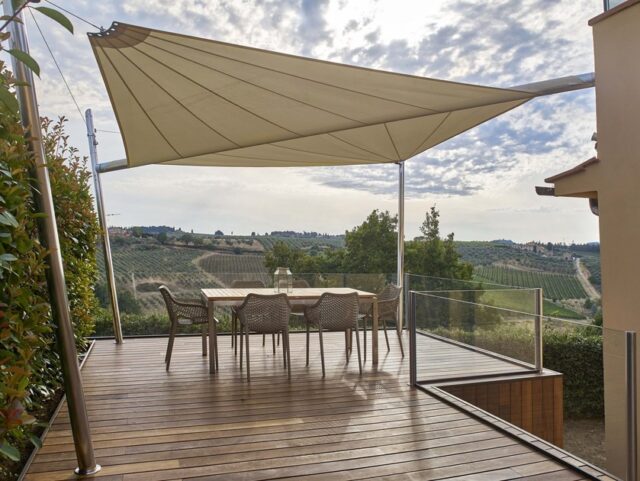
One idea you can check out is installing shade sails. These are huge fabric canopies suspended in the air to provide shade. You may have seen them being used at commercial establishments, with their beautiful, bright colors in gorgeous arrangements. Having them installed in your back patio gives a better outdoor living experience by providing shaded areas for your whole family to enjoy and relax in. They allow your children to play outside longer, and they reduce the risk of skin cancer by giving everyone sun protection.
You might think installing them by yourself is impossible, but it’s actually doable. All you need is a little patience, and you’ll surely be able to do it yourself.
Planning the Installation
Considering the large savings, you can get, planning this home upgrade can be very thrilling. After all, it is a quick, efficient solution to the harsh summer sun problem. In this article, you will learn the process of attaching one side of the sail to your home, and the other side to two wooden poles.
DIY Installation, Materials and Cost

Perhaps the best part of getting shade sails for your home is the cost. You can get a 16’ x 16’ setup for a very low price, whereas a retractable awning can cost more. If you’re really good at sewing, you can even make your own sail. You’re saving a lot of money if you’re choosing it over a retractable awning!
According to brisbaneshadesails.com.au, majority of the price you will pay for, goes to the actual 16’ x 16’ fabric sail. The rest of the money goes to two 6 x 6 x 10 wooden posts, 4 eighty-pound bags of concrete, a bag of paver base and some hanging hardware. The only problem you’re going to think about is transporting the pressure-treated wooden poles to your home, since each of these posts are ten feet long, and not all cars can accommodate them. The best way to do it is to place them at an angle, with the rest hanging out the window.
As soon as your materials and equipment are transported to your home, you’re ready to begin the process of installation.
Preparing the Materials
The first thing you have to think about when starting this project is where things would go. You need to double check the measurements first, so it is an excellent idea to spread out the entire fabric in your lawn. This is to make sure that it would fit in your patio.
The mounting fixtures need to be bigger to allow the cloth to be tensioned evenly. The recommended distance for the fixtures is 10% larger than the sail itself, so bear this in mind when you do your measurements.
Determining the Best Location for the Sail
Next, you have to locate an area in your back porch where you can attach the fabric. Bear in mind that the mounts on your house have to be firmly installed into wall studs. This would mean that every 16 inches in standard stud spacing in the house can be a starting point for the sail square.
You also need to consider all the obstacles on the post sides, like walkways. It is also wise to leave an unsheltered part of the patio in case you want to have a barbecue grill station. It is very unsafe to cook directly under the fabric because the heat might damage it.
By taking all these issues into consideration, you can find an ideal location for your upgrade. All that’s left to do is to install it.
Installing the Sail Posts
After determining the location for your shade, it is time to dig the support post holes. Some post hole diggers might be a little too small for a 6 x 6 post, so you might have to dig a few holes adjacent to each other to make a larger one to accommodate your posts. Ideally, the holes have to be 3’ deep by 1’ wide. You can use a permanent marker and put depth measurements on your digger to track the depth of the holes.
You can hire a professional to do this, but you’ll save money by doing it by yourself. It would take a few hours of effort to dig the holes, but it is not impossible to do. In case you encounter any roots or rocks, a crow bar would help.
Doing the “Concrete parts”
To give the posts a solid base, you can pour some paver base in each hole. Afterwards, you can drop the posts in the holes.
You would also need to mix the concrete in a wheelbarrow. The concrete is necessary to keep the poles steady once they’re subjected to large forces once you attach the fabric.
Installing the Fabric
Usually, you’ll be utilizing a hanging hardware shade sail installation kit which consists of hook pads, carabiners and turnbuckles. The hook pads are to be bolted to the house’s wall studs. For tensioning the fabric, you may use the adjustable turnbuckles, which extend or retract according to the direction you turn. This makes it perfect to achieve the best tension for your fabric.
Once you’re done, you’re ready to enjoy a day out in your patio with your loved ones. It takes only a few minutes to set up or take down, which is perfect for parties. You will surely love the extra bonding time with your family!


