
Taking images of the sky is one of the most exciting activities one could engage in. The night is the best time to capture the beautiful scenery of the sky, known as astrophotography. Sharing the beauty and wonders of the atmosphere through photography can be a lifelong passion. No matter your level of skills or the device used, you can have fantastic sky images.
This article highlights some of the tips for taking spectacular pictures of the vast sections of the sky. They include the following:
1. Find a Location

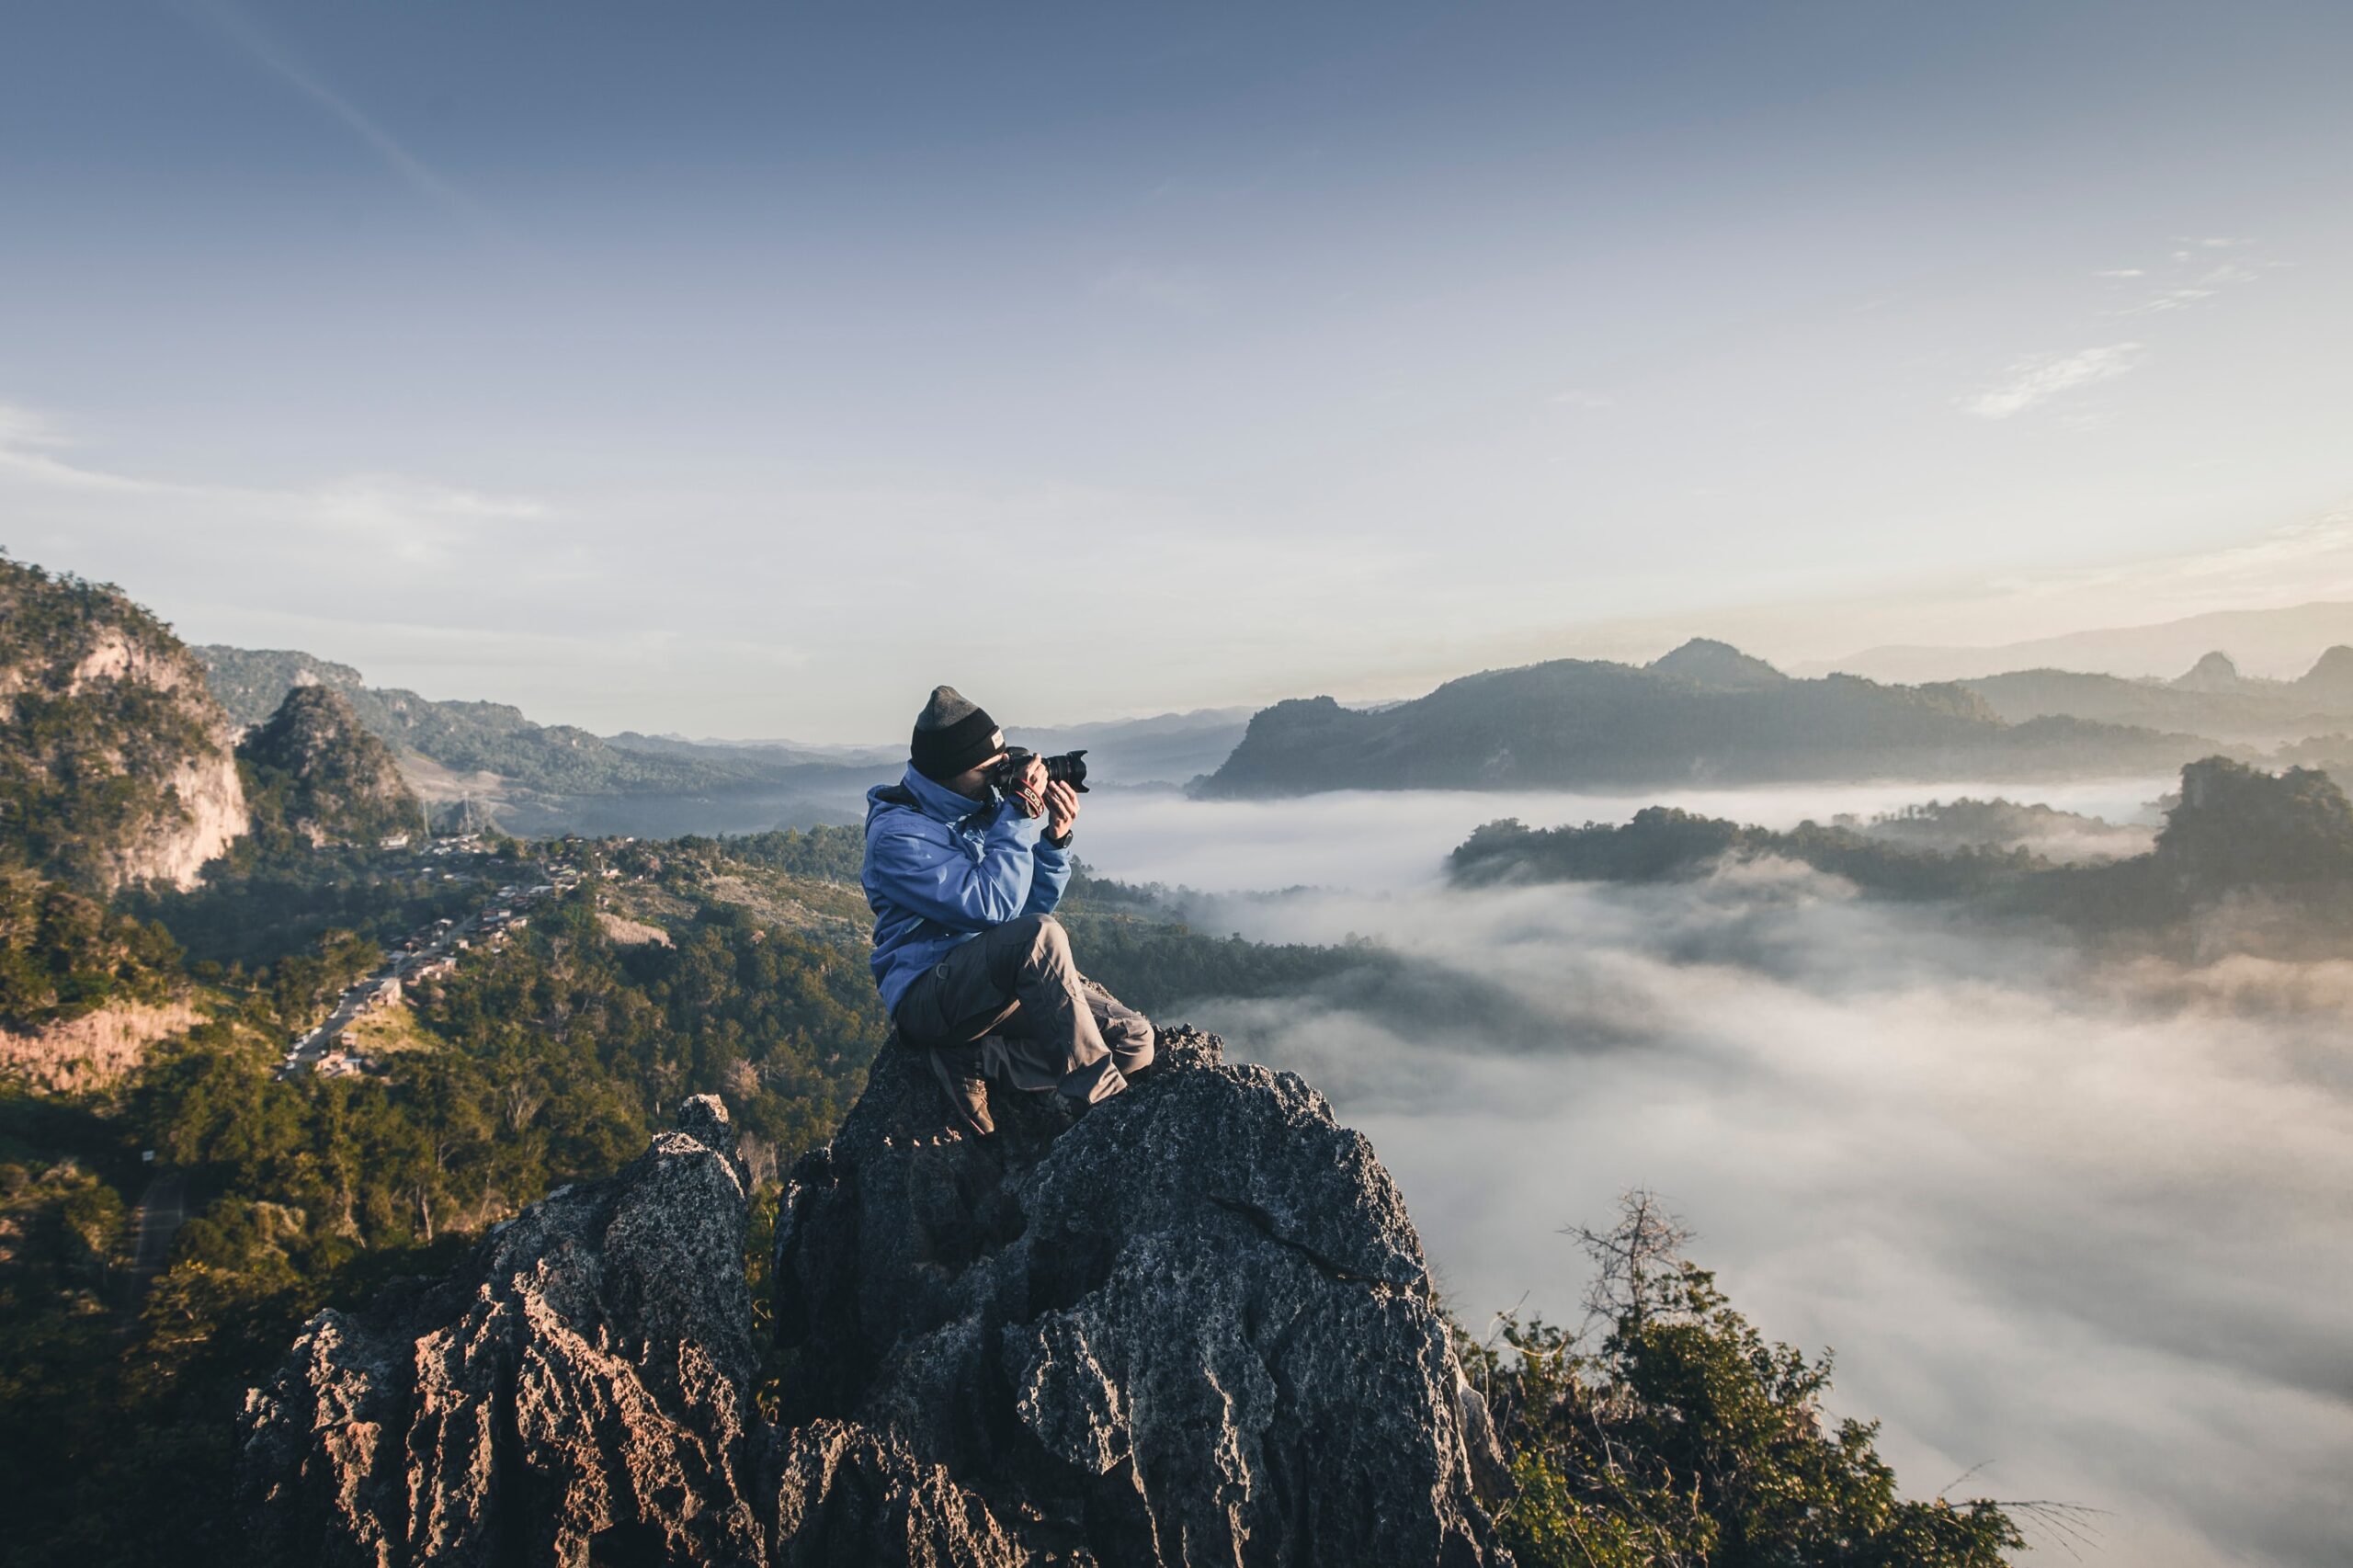
The first tip to getting outstanding images of the sky is to find the perfect location for the shots. A site away from the town enables you to get a clean shot of a clear sky. It would be best if you had a place free from light pollution and it could be some miles away from the city. Try to find a location near the ocean, a lake, or a mountain on the horizon, which gives you such features that allow for a reflection of the stars.
2. Timing
Time is a vital determinant in taking spectacular images of the sky. The time of the shooting can make a tremendous difference. According to astronomers, the best time to capture sky images is during summer. At this time, the Milky Way is sprightlier than in winter, with a bright section of the horizon. The celestial body is in a vertical position, which gives you the best shot. The horizon is gone or dims during winter due to the perpendicular place of the celestial bodies. Take the photos from a southern view, which has a spherical glow compared to the dim northern view of the sky, with a light-polluted view. Remember to check the weather condition. Learn to interpret cloudy descriptions by weather experts. You can check on weather websites for more information about cloud interpretation. With passing clouds, you can get a nice photo of the sky. However, partly cloudy is the tip for astrophotography.
3. Equipment
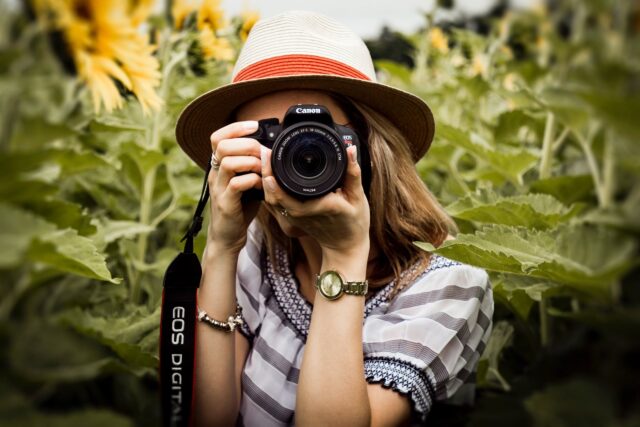
The kind of gear you use also determines the quality of images you get. Some of the equipment essential for astrophotography are:
- Camera
- Telescope
- Eyepieces
- Tripod
You need basic knowledge of photography and astronomy if you are just getting started with the images of the sky. Experts recommend starting simple with a camera, lens, and a tripod. It would be best if you had an idea of how a camera works, determining the right exposure, setting, and the perfect focus. Knowing the best camera to use is an added advantage. Thanks to the internet, you can simply click here and learn about the various pieces of equipment for astrophotography. This includes the commonly used one, which is the telescope.
If you are looking to capture deep space subjects, a telescope is a perfect tool. It can give you an enjoyable and rewarding photography experience. It would be best if you had an adapter to connect it to your camera. From the variety of models on the internet, you can choose the best by going through customer reviews. The tool is quite expensive. Before buying, try to borrow one and see if it fits your astrophotography needs. Remember to dress warmly when going out for photography at night. It is frustrating when shivering during the process, and finding it hard to concentrate on the camera shots.
4. Camera Settings
Many beginners in astrophotography wonder about the right settings to use for spectacular pictures of the sky. With astrophotography settings, you want the camera to do as little as possible. To capture a broad section of the sky, you need to use a wide-angle lens. This setting allows you to see more of the scene. This shot enables you to bring more attention to whatever you choose to be in the foreground. You need the settings that allow you to get an expansive view of the image, without a distortion. Manual mode is recommended, with an aperture of f/2.8, or wider of about twenty seconds exposure, with an ISO 6400.
In the darkest times, you need to rely on faster shutter speed and wider apertures. This setting gives you broad coverage of the sky. The manual mode also gives you the most amount of control needed. Setting the camera white balance to fluorescent is another way to capture outstanding pictures of the sky. For astrophotography, shooting in raw is a must. Raw captures the most amount of details vital for post-processing. Observing the rule of the third is another technique. It is an essential rule in photography composition. The method involves dividing your view into thirds to achieve nine equal parts of the camera frame. The image needs to be at the intersections for a unified and balanced picture. Remember to find a balance between the camera settings.
With astrophotography, images taken over long periods tend to add narrow apertures and blur. Due to this reason, you need to find a balance between camera settings.
5. Lighting
For a fantastic night sky image, you need to preserve your vision. In case you need to light, this type contains a less disrupting and longer wavelength for your eye vision. For the camera controls, make sure to cover one eye. By doing this, you help the eye adapt to the darkness. Professionals advise on the use of red light for the night vision. Bright light affects the natural pigmentation in the eye, known as the rhodopsin. This effect causes photobleaching and may cause you to take about thirty minutes before restoring your night vision. Therefore, the red light is the best option. You also need to understand the patterns of the moon phase. Astronomers recommend taking photos during a new moon or no moon. At this time, you can take pictures with bright Milk Way and clear stars. Once this phase is over, it is hard to get amazing shots because of the bright light in the sky.
The tools and settings of the photography equipment help take spectacular images of the sky. However, without the composition, knowledge, and technique of their practical use, you won’t achieve your goal. Whether you are getting started or a professional, you need to pay much attention to Astrophotography basics.


