
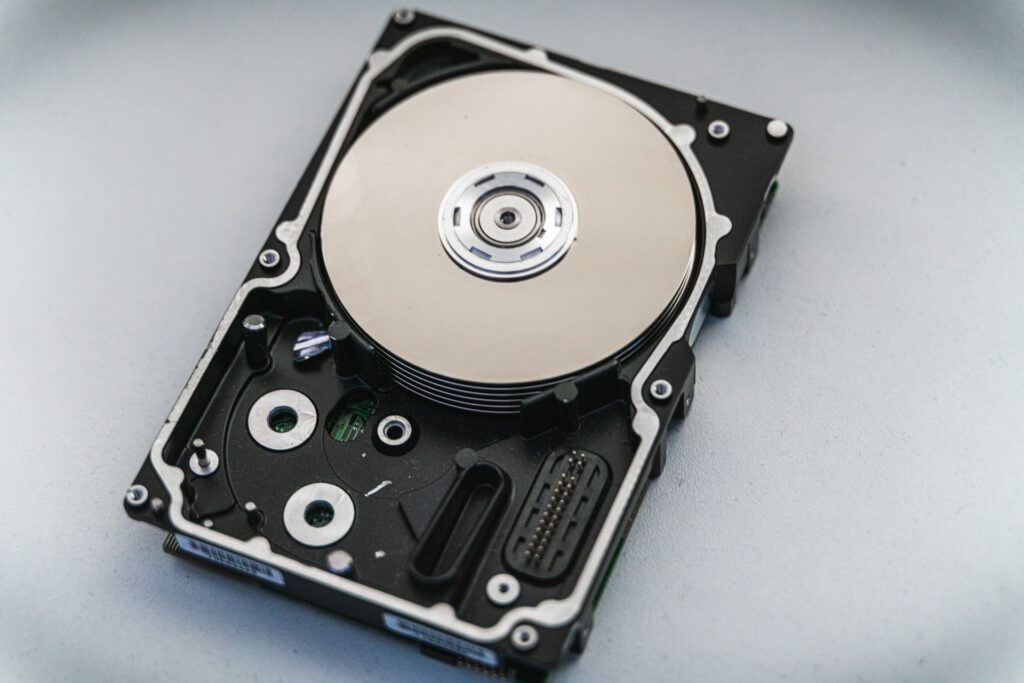
The slave is the term used when a computer peripheral works under the control of another component. Users can adjust slaves/ peripherals by adjusting jumpers. The slave set allows a drive to act as secondary and work on a single IDE/ATAPI cable. Today, the cable select option has effectively replaced the IDE/ATAPI setting that determines the point of connection on IDE cable. Slaving hard drives means enabling a user to utilize multiple hard drives with a SATA or IDE cable.
Slave hard drives have different configurations and setting depending on their cable type.
Difference between Master and Slave Hard Drives
As a user, you might have heard the terms ‘master’ and ‘slave’ and wonder what they mean in computer terminology. Explaining in terms of status, the master drive is the one that is in command while a slave is the one that receives the order.
In terms of hierarchy, the master drive is the one directly plugged into the motherboard through the IDE cable. Each time your computer boots, it considers the master drive as the primary drive to operate and run. Slaving hard drives gives a secondary or auxiliary drive to the computer. A slave hard drive generally operates as a secondary storage device. If we take storage in focus, slave hard drives usually contain backup of data and used as storage in terms of a system crash. Master HDD has an operating system, and the computer takes it as a primary source of storage if a slave is not present. Storage of data along with operating system might cause frequent crashes and slave drives helps in distribution of data load from master HDD. Finally, a slave HDD contains no jumper setting. The jumper has a designated configuration in the master HDD that allows a computer to distinguish it as a primary drive.
Steps to Make an HDD Slave
1. Research Your Machine
First, inspect your machine for the motherboard and other peripheral settings. Before installing a new drive as a slave, reviewing your machine will give you an idea about possible drives it can accommodate. Usually, a machine contains one primary or master drive, which makes it easy for slaving hard drives as secondary. You will also know the cable, jumper, and other configuration on your motherboard, making the process easy. Take note that if you already have two drives installed, configuring another as a slave becomes tricky.
2. Check Space and Cable Type
Check whether you have space available in your casing for another hard drive. Slaving hard drives means you have to install another one with your existing drive. If your machine does not contain space, consider using external connectors like USB or FireWire to use a secondary HDD. After determining space, check for the cable type. There are two types of cable configurations SATA and IDE. The IDE cable wide, thick and flat whereas the SATA cable has a thin diameter of a pencil. Knowing about the types of cables in your computer’s motherboard makes it easy to pick the right Hard Disk Drive.
3. Disconnect the Power
Disconnect all power sources to your computer and tap the power supply a few times to release all the static electricity. Static electricity is a significant danger to sensitive computer parts that most people ignore. Wear rubber slippers while working or wear grounding bracelets to eliminate static electricity from your body.
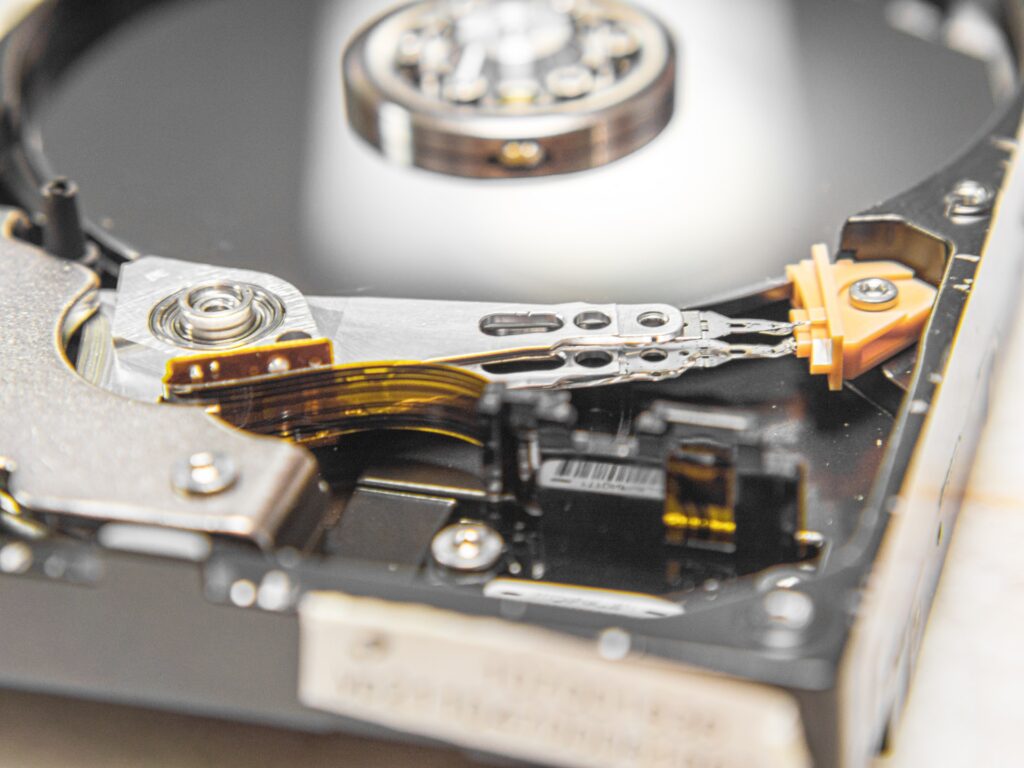
4. Set Jumpers
After you ensure the disconnection of power and static electricity, the next step is to set the jumpers (for IDE configuration). Most IDE cables allow the connection of two drives within a single line. You already have one HDD as master on the cable and want others to act as a slave. Check for jumper configurations on HDD for setting it as master and remove the jumper entirely for slaving hard drives. If you have a SATA cable, no need to set jumpers as each HDD comes with separate cables. You can set the dive with the operating system in BIOS as master and others as slaves.
5. Mount and Connect Power
Once you have all the cables and jumpers set, you need to restore power to your machine. Make sure all the screws, cables and mounting is proper before using the machine. Connect the power cables for each and configure them in BIOS for auto setting as a slave or set primary and secondary drives (for SATA configuration).
Setting in BIOS for Slaving Hard Drives
- Restart your computer and once it boots, press the F2 or Delete button rapidly to enter the BIOS screen
- If prompted for a password, enter and proceed
- Navigate to the CMOS Setup and then press Enter. Usually, new motherboards have CMOS as the primary interface
- In the CMOS, find Hard Disk and then Primary Master Selection. Press to auto-detect the master drive
- Move towards Primary Slave, and also auto-detect
- Once you have both drives confirmed, go to the main screen and press F10 to save settings and exit BIOS
After exiting, your computer will restart, and you will see all the configured hard drives during the booting screen.
Causes of Slave Hard Disk Problems
Incorrect Setting
One of the most common causes of errors of slave HDD is an incorrect setting. Generally, when you add two or three hard drives without the selection of master or slave settings. Your computer will not boot the new drives and could not restart. That is why people get slave or master HDD error.
Incorrect or Loose Fixation
Setting the jumpers and cables is the main part of the smooth functionality and operations of computer parts. Loosened jumpers or cables give slave or master HDD error. While slaving hard disks, ensure the jumper setting according to the steps mentioned above. Have all the jumpers connected accordingly and reconfigure the settings if you detect errors.
Corrupted Hard Drives
Hard drives with a corrupt file system are the most undetected error cause. Corrupted hard drives remain unidentified until a major error happens. Bad sectors keep hard to drive damaged and give master or slave error that needs rectification.
Overall HDD error occurs due to the causes mentioned above. Having a professional detect them early on is the key to have a smooth and functioning hard drive.
For more information about this topic check out https://dtidatarecovery.com/


