
If you’re considering heating your house with a wood furnace, then at some point or other you’re going to need to know how to split wood. Of course, you can buy cords of wood that are already pre-split, but that can get pretty expensive. Chances are if you heat with a wood furnace, then you have some trees at your disposal that you can cut down and then split. Also, sometimes local power companies remove trees on the side of roads that are dangerously close to the lines.
Most of the time they will not remove this wood, but rather allow people to come and pick it up. If you have a truck, then stumbling across one of these felled trees is paydirt for your woodstove.
1. You need to split the wood
Because it is not feasible to fit an entire section of tree trunk into your wood stove, you have to split it. And even if you could fit it the log wouldn’t burn very well. Splitting the wood allows better burning of the wood and more control over what you can put in your furnace. There are some mechanical apparatuses that can aid you in splitting wood, but this article is concerned with helping you do it the old-fashioned way: with a maul.
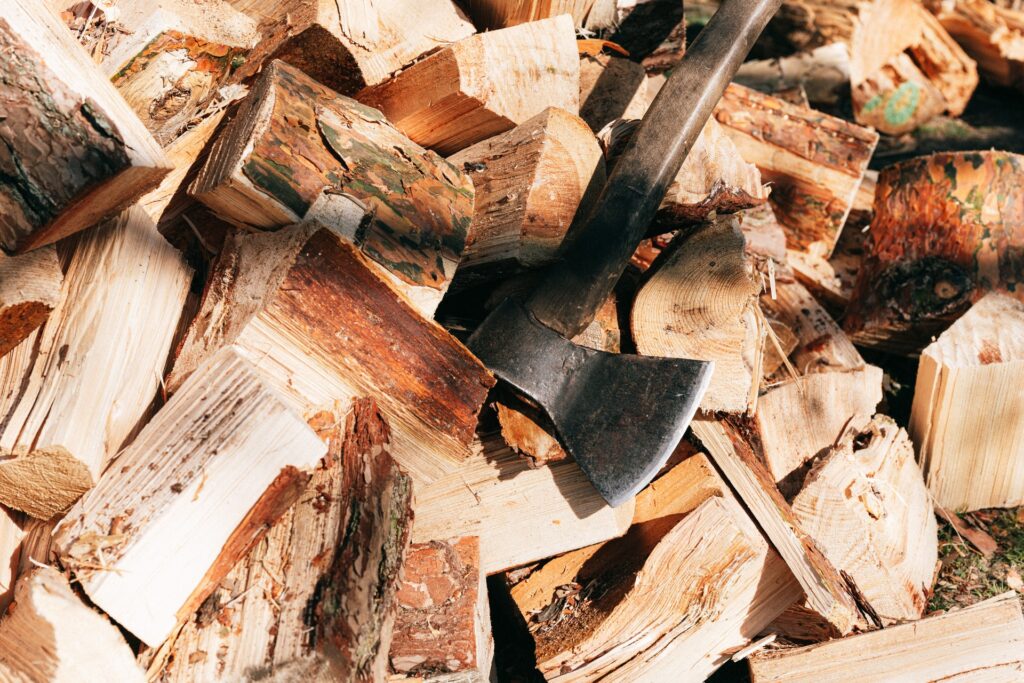
2. A maul is not to be confused with an ax
An ax it all right for cutting down trees because it is sharp and has a narrow head, but it is ill-suited for splitting wood. The reason behind this is in the weight of the head. Axes have more of a square-shaped head that is relatively light to allow for horizontal swings. A maul has a wedge-shaped head that is heavy and allows for a maximum downward force. In the name of the game when you want as much concentrated force downward onto the surface of a block of wood, then a maul is your best bet. Now, there are right ways and there are wrong ways to split wood with a maul.
3. Stretch out a bit before you start using the maul!
Do a couple of trunk rotations, back stretches, and triceps extensions to loosen up. If you need advice on how to stretch, then take a look at my article on proper stretching. When you’re swinging a heavy tool around at weird angles, then the chances of pulling a back muscle could potentially be high. Therefore it’s never a bad idea to be loose before starting.
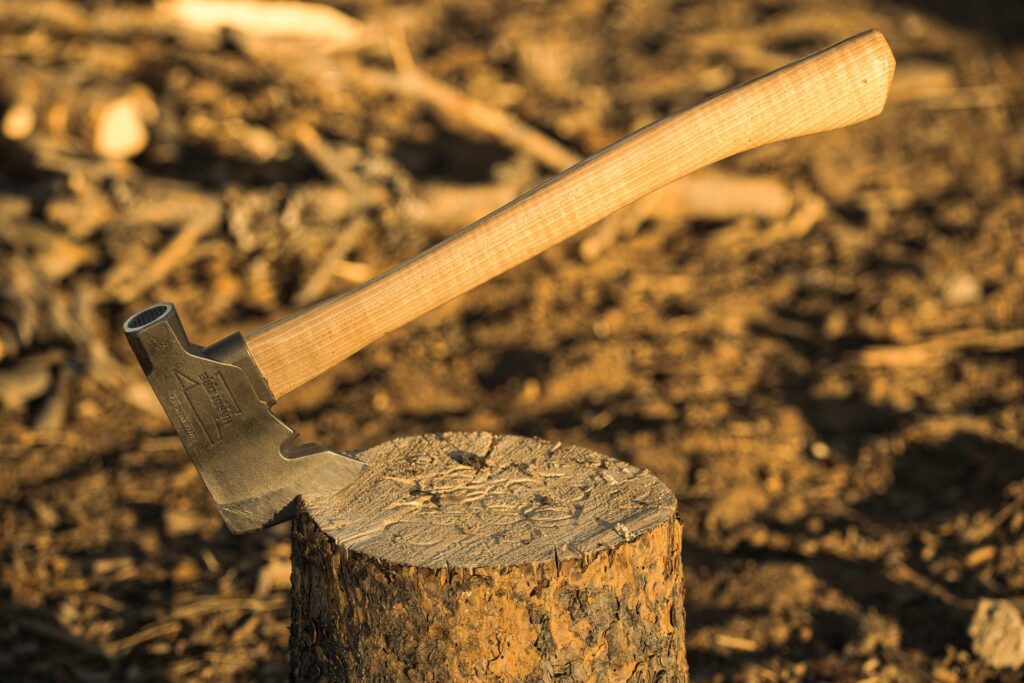
4. Place the wood on a sturdy and level surface
You would want to take the block of wood about to be split and put it on a level, hard surface. Your best bet is a low tree stump in this case, but if you can’t find one to use then you can use a level bit of ground. The latter will cause you a bit more effort because the soft dirt will absorb much of the force of the maul unless the ground is frozen. Do NOT split wood on rocks. If you land a clean stroke with the maul then you could severely dull its edge if it makes contact with the rock. So find yourself a tree stump.
5. Orient the log to be split in the most advantageous position
Look on the surface of the cut face and try to find any split marks. These are signs of weakness in the wood and if you’re able to hit a split directly with the maul, then you should have a better chance of splitting the log. If you can’t find any splits, then you can at least avoid hitting the log along knots. Knots are gnarled portions of the wood in which the grain runs irregularly. These are to be avoided. Unless you want to tire yourself out in a useless gesture, then stick to striking the log in places where the grain appears to be regular and smooth.
6. Focus on one spot
Now there’s the question of how to use the maul. This is a little tricky and requires a good deal of practice. In order to effectively split wood, you need to be able to strike a certain spot over and over again with a degree of accuracy. Just as a note, these instructions are for people who are right-handed (lefties: just reverse the instructions).
7. The correct position is key
Take your left hand and grip the bottom of the maul handle, about two inches from the bottom end in an overhand grip (palm facing down). Next, take your right hand and put it about two feet up on the handle from the left hand with an underhand grip (palm facing up). Put your left foot slightly in front of your right, with the feet spread about shoulder-length apart for support. Now drop your right hand slightly to begin a circular arc, drawing the maul behind you on the right side.
This should be a smooth movement and you will feel your right hand slide up the handle of the maul toward the head. Using the momentum of the arc, bring the head of the maul down with as much force on the log as you can without exaggerating or straining. You will notice that your right-hand retreats back toward the bottom of the handle and you are in no danger of striking it on the log.
8. Ensure your safety
Important safety tips to remember are to be away from any branches or brambles that could potentially snag the maul on its downstroke and injure you. Also, make sure you are far enough away from the log to allow the maul head to make contact with the log comfortably. Finally, it’s a good idea to wear safety goggles. If you are splitting dry wood, then fragments of the log can be ejected at high speeds when the maul makes contact. Catching one of these in the eye could potentially cause damage to your vision, so invest in a cheap pair of safety glasses.
That’s the end of our tips concerning splitting wood with a maul. Hopefully, this guide helped you make splitting logs easier and spark your interest in doing more woodworking projects. For a proper guide for beginner woodworkers, you can read Sawinery’s review of Woodworker’s Guild of America—a convenient resource site for woodworkers.


