
Emulsion paints are now the most common paint you’ll use at home. It is known for being easier to use, better for the environment (due to lower VOC levels) and doesn’t always carry that “paint” smell that can linger in a room for days.
When buying emulsion paint, it is all too easy to get confused and make mistakes. So let’s make sure you don’t by knowing what to avoid. Here are seven common mistakes to avoid when buying and using emulsion paint.
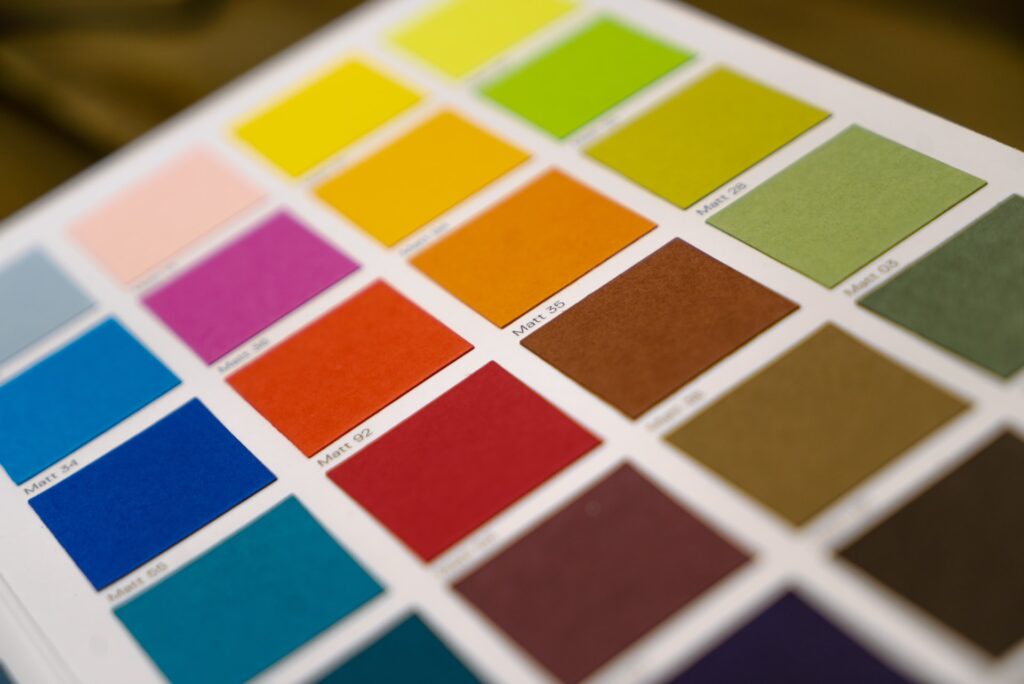
1. You get the wrong finish
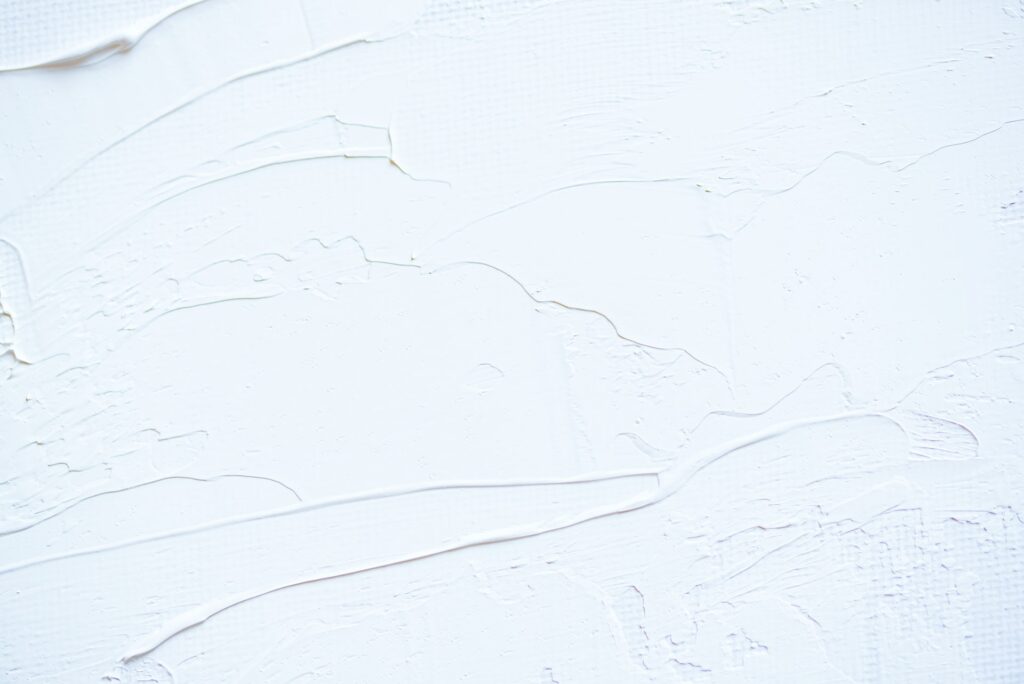
The emulsion doesn’t refer to the finish, but what the paint is made of. You need to know the differences to get a good end result. Emulsion paints are always water-based and will have acrylic resins mixed in to harden the paint (that’s “harden” as in durable, not in the finish).
You’ll also typically find matt, satin or silk listed as emulsion paint, each subsequently leaving you with a higher sheen. Get to know what each looks like so it ends up how you imagined on the wall.
2. You go the cheap route
Seen a great deal on non-brand emulsion paint? Don’t think of it by how much coverage you’ll get per litre compared to a brand paint. Think of it in terms of how long you can expect it to stay looking great on the wall. There’s a reason brand paints are the easier option; that little extra you’re paying is going towards a product that is tried and tested, again and again. You want that when your paint will be on the wall for at least a few years.
Go cheap, and you’ll be paying for paint again sooner than you think. For a good deal on brand name emulsions, we suggest giving thepaintshed.com a quick look. They usually have deals on brands like Dulux and Johnstone’s.
3. You went wet outside
Sometimes when people use emulsion paint on their walls and ceilings, they might have a little bit leftover but they don’t want to close up and keep in the cupboard for years to come. They take the notion to use this leftover paint outside the home, in areas which need a little bit of TLC, namely around window and door frames.
While emulsion might be ok to pop on your skirting boards and trims inside, please do not do the same outside. Water-based emulsion paints aren’t formulated to be durable enough when used outdoors. They may dry quicker, but that doesn’t make them stronger than a reliable outdoor paint. Stick with oil-based paints, unless your paint specifically states that it is ok to use it outdoors.
4. You didn’t check for mould
Emulsion paints can be used in bathrooms, just as long as you get an emulsion paint with anti-mould properties. Trust me; you’ll want to opt for this when painting the likes of your bathroom, kitchen, or any room where you have longer periods of moisture in the air. It used to be that you could only have gloss paints in bathrooms with steam from baths and showers sticking around, but now it is more common to have extractor fans in place, so special emulsion paints can be used instead. Just make sure you get one that prevents fungal growth.
5. You didn’t prime
Regardless of whether you’re painting on a fresh wall, or going over existing coats, I always tell people they should be priming walls first. It’s easiest to think of primer & undercoat as a buffer between the paint and what lies beneath. A decent primer helps prevent colours from bleeding through and reduces the need for multiple coats.
6. You not balanced with your brush
A very common and all too easy problem some people have when using emulsion paint happens when that first coat has fully dried in, and you stand back to admire your proud work. It’s looking well until you notice that one spot or two is looking patchy and you don’t know why. After all, you followed the instructions on the can to a T, so what went wrong?
You, my friend, are a heavy-handed painter. I am sure painters and decorators would not like to be referred to as dainty, but it is how you should handle the paint on the brush. Many people who have really never been handy with home DIY projects and painting tend to think you need to throw the paint on like you’re priming a canvas, or there’s no tomorrow.
In most surfaces where you’re using gloss paint, less is better. This goes doubly so if you’re using a roller and paint tray. You’ll think you have to pour most of the can in and get that reservoir filled up when really it only needs to be a third of the way filled. You also want to ensure you have just enough on a roller by rolling it back and forward the top of the tray. That little part isn’t there to just get loose paint off the brush. You’re doing what is known as “drying the brush”, so it will have just enough paint on to work its magic.
7. You’re all over the place
You might hear some people say the W formation is what you should be doing with the brush on the wall. You might also hear people say it’s all about long strokes with gloss. There are a million and one ways to paint gloss on a surface, but they’ll not all be right.
Personally, I am a fan of what I call the “step” routine. You simply prep and tape off any fittings at the bottom of a wall and then apply the brush horizontally at the bottom until you have a coat sitting about a step high. From there, you then paint from the top-down, going in one direction.
With the “step” at the bottom, the last of the vertical strokes meeting it blends much better on that first coat to help avoid corners and edges having any bleed or bulge on the second/final coat.
Now get to painting!
Thanks for reading. Hopefully, these tips will make it easier to use emulsion paint for any upcoming DIY projects, and you’ll become a master at using gloss paint on any surface.


