
Keeping your baby in a bacteria-free and clean environment is crucial for its health. Babies can have serious health problems if you don’t take care of their hygiene, due to their sensitivity to every illness.
Sterilization is a process that kills bacteria in baby bottles through high temperatures or chemicals. There are several sterilization methods and when it comes to their effectiveness, every method is virtually the same, so it’s just a matter of your choice and what’s easier for you.
In this article, we’re going to cover all the sterilization methods and explain them step-by-step, which will make it easier to understand how each method works.
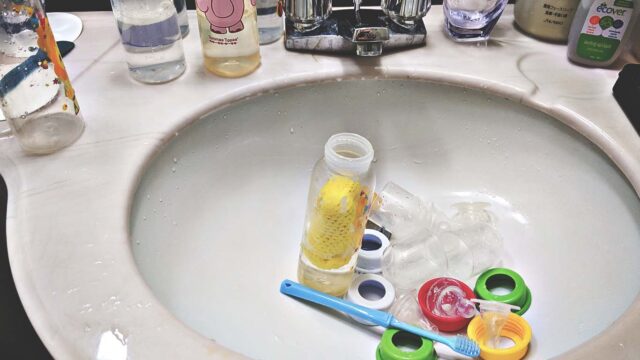
With Boiling Water
Using boiling water is perhaps the easiest method and it’s also cost-free, making it great for those who don’t want to spend additional cash. Here are the steps:
Use a large, clean pot and fill it with water, enough to cover the bottles.
Grab your bottles and put them in the water upside down. Make sure that there are no bubbles in the water.
Plant your pot on the stove and bring it to a boil.
Boil your water for a few minutes or as the bottle manufacturer says in the instructions.
When the water boils off, turn the heat off and remove the bottles from the pot.
Place the bottle on a clean and dry cloth and let them dry.
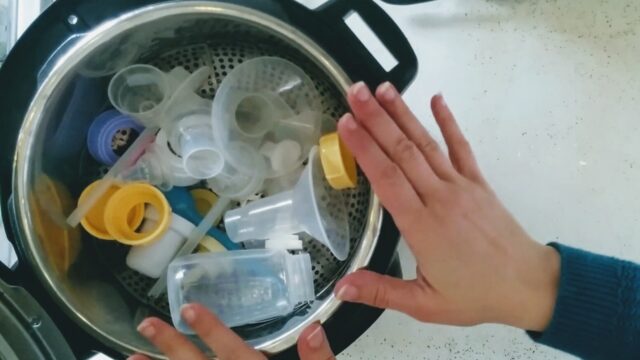
With Electric Steam
If you don’t have the time to spend on boiling the water, then waiting for the bottles to dry, using a bottle sterilizer might be your best bet. Bottle sterilizers are great for those who want to sterilize the bottles properly, yet spend only a few minutes.
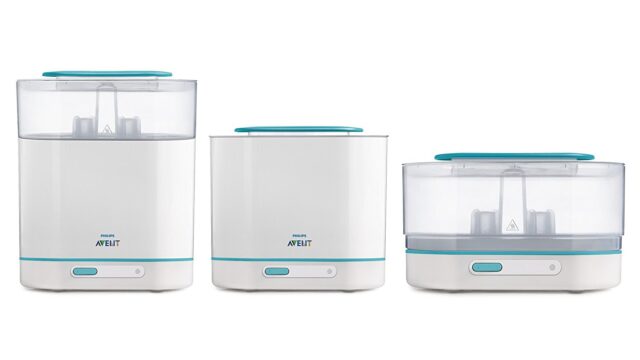
The great thing about steam sterilizer is that it can achieve pretty high temperatures that are crucial for killing bacteria and mold. The truth be told, they’re a bit pricey compared to other options on our list but they’re also very quick, hence they’re great for those who sterilize bottles frequently.
For example, if you have two or three babies, using this method would be a giant time-saver.
The versatility of steam sterilizers is even greater, so you can use them to sterilize nipples and other bottle parts. Furthermore, moms often use these on plastic toys and teething rings when babies start growing teeth. Despite being more expensive, you’ll be able to squeeze out every dollar you’ve spent on such a device.
Using Microwave

Microwave can be used for more than warming up the leftovers from the late-night party. Achieving some high temperatures is a piece of cake for your microwave, so why not utilize it for baby bottle sterilization? Here are the steps:
Clean your microwave of any food leftovers.
Fill the bottles with water halfway.
Put your microwave on the highest setting and turn it on for two minutes.
Remove the bottles from your microwave.
Pour the remaining water into the kitchen sink. Leave the bottles upside down on the dry cloth to dry.
Similar to microwave, there’s a special microwave baby bottle sterilizer that does almost the same thing. Using the power of steam, the microwave baby bottle sterilizer has the bottles in a plastic casing, giving them more quality cleansing.
The price of these is relatively affordable, and they’re widely available online, as well as in the baby shops.
Using Bleach
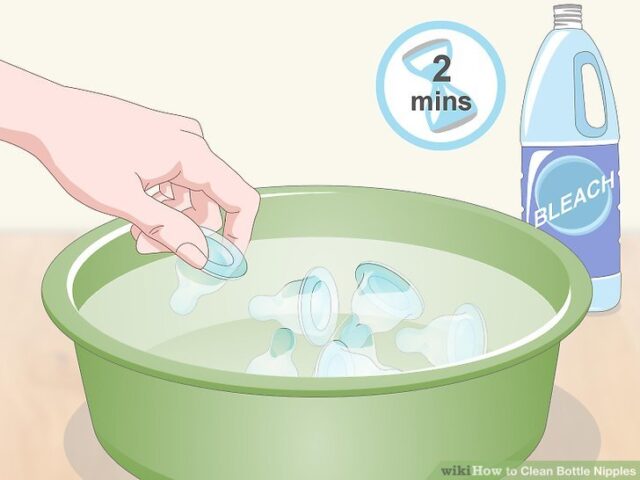
Bleach is something we all have in our households and despite being so cheap, this thing is powerful in the right hands. For example, it can thoroughly clean and sterilize your baby bottle, and the required steps for doing that are below:
Use one teaspoon of (unscented) bleach with 16 cups of hot water.
Stir the solution, and then put the bottles upside down, taking care of avoiding air bubbles at the bottom.
Let the bottles rest inside for five minutes, then remove them.
Place the bottles on a dry towel or cloth and let them dry.
DON’T rinse the bottles, as the bleach will break down in the process of air drying.
Using Sterilizing Tablets
If you’re away from home and you don’t have access to hot water and all the necessary equipment, no need to worry. By using sterilizing tablets, you can sterilize your baby bottles the same way you would do it at your home.
Sterilizing tablets are food-grade and based on chlorine, thus they’re very effective at removing the microbes and bacteria. On the packaging, you’ll find the instructions for sterilizing. Follow the instructions and you’re good to go.
When to Stop Sterilizing Bottles?
Experts say that it’s okay to stop sterilizing baby bottles once the baby turns three months. After three months, the baby’s immune system isn’t so weak, so sterilizing isn’t necessary, although it will not harm your baby.
Since very frequent sterilization can potentially damage the bottle, you should stop sterilizing them if you see the damage. In the case of plastic bottles, you can see cracks and splits, often accompanied by a strong odor, which is a sign that you need to stop sterilizing. On the glass side, the only signs are cracks, with no odor. We also need to mention nipples since they can also be damaged.
Nipples that have suffered wear and tear should be replaced because pieces of nipples can get into your baby’s throat, which can cause choking and death.
Conclusion
Sterilizing your baby bottles is crucial for babies under three months. Thankfully, this process is very simple and whatever method you choose, be sure to do it properly, to avoid potential risks.
When your baby passes three months, you can stop with the sterilization but still take care of your bottles and nipples, to make the feeding process as safe as possible. Damaged nipples can often choke the baby, so you must exchange them accordingly.


