
Glass is a versatile material and it has endless possibilities in interior décor and design. It can transform your interior for both aesthetic and practical reasons. For instance, even though most interior design concepts are centered on making the interiors look chic, it gives you an opportunity to bring the outside into the interior design. Additionally, glass can be used with LEDs to make the décor stand out even more. There are quite a number of wired glass ideas that you can implement in your house. In this article, we are going to look at some of the most practical wired ideas that you can DIY using panels.
5DIY Fish Aquarium
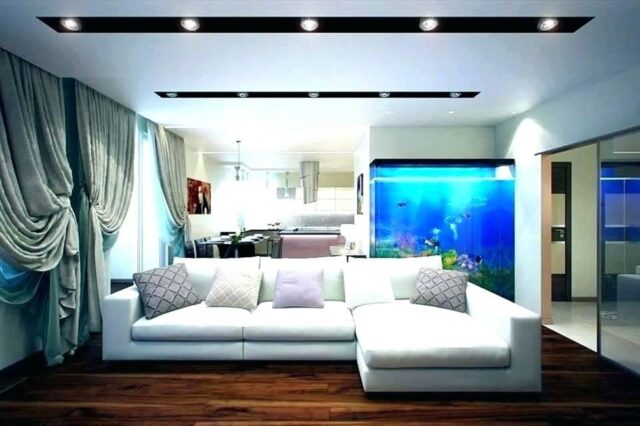
You can build your very own fresh-water or salt-water aquarium using glass panels and some other materials. Here are some important tips to remember when working with glass panels:
- Use the proper measurements in order to guarantee a perfect fit. This will help to prevent leaks once you finish building your DIY aquarium.
- Think ahead before you begin assembling the aquarium. For starters, draw a good schematic that will guide you when cutting the glass. If you aren’t very comfortable with cutting it, buy pre-cut panels or ask for a professional to help you with this.
- When assembling the aquarium, do not use a solid glass cover on the top because you want to leave room for oxygen-carbon dioxide exchange.
Materials needed
The most obvious materials needed are the custom cut panels. One for the bottom, one for the back, one for the front, and two for the sides. You will also need the following materials;
- Acetone
- Emery cloth
- Razorblade
- Felt tip marker (washable)
- Silicone sealant
- Duct tape
If you are building a huge aquarium, it is a good idea to install a support brace at the center of it. However, this is not necessary for most DIY projects because you will most likely be installing a tank that is less than 30 gallons in volume.
Assembling the aquarium
- Start by buffing the raw edges on the custom cut glass panels to ensure that sharpness on the edges has been taken out. To do this, you will need to use emery cloth. If you do not have the emery cloth, carbide sandpaper will do just fine. Once this is done, cut sixteen strips of duct tape. Each strip should be approximately five inches long.
- Layout all the panels on a surface and take note of which panel goes which side. To avoid confusion during the assembly, use the marker to make directional arrows or some other marking that will direct you.
- Place the bottom phase on a flat surface and then press around 8 pieces of duct tape below it with the sticky side facing up. Firmly press the panel to ensure it is held firmly in place.
- Install the front glass panel. You might need someone to help you in holding the pane upright as you complete the installation. Once the panel is seated firmly in place, apply the silicone sealant at the edges around where the two panels meet. You may want to slightly tilt the panel in order to allow the sealant to get below the glass and then get it back in position and press it firmly in place. Do not worry about the excess sealant that may slip outside the edges as it can be cleaned off later.
- Repeat the above step with the back and side panels.
- Leave the tank undisturbed for 24 hours to allow the silicone to cure.
- Fill the tank with water and allow it to sit for another 12-24 hours. This is important as it will let you know if the assembling was done right or if there are any leaks that need fixing before you add your fish.
4DIY LED Infinity Mirror
As complex as the infinity mirror may look, it can be surprisingly easy to make. With just a couple of mirrors, you will create a series of reflections that create an infinite loop of reflections. Here are the step-by-step instructions on making a DIY LED infinity mirror.
- Buy a frame (approximately 1 inch in depth). The shadowbox frame is preferred for this because it is wide enough for holding the mirrors. These are available in most craft stores and they come in all shapes and sizes so you can get a size and shape that will fit with your décor needs. It is important to get one that is at least one inch in depth because it will help in accommodating the LED lights. The interior frames should also be removable to allow for disassembly and reassembly when installing the LED lights.
- Remove the glass from the frame. To do this, you will need to turn your frame upside down. The frame should have some metal tabs all around it holding a wooden backing. Move the metal tabs and that will allow you to remove the wooden backing as well as the glass.
- Cut a reflective film to fit the frame. You can use a silver reflective film because it will make the glass slightly reflective but still achieve the illusion effect. To get the correct dimensions, place the glass from the frame on top of the film and trace around it in order to know where to cut. The film serves two purposes. It creates a two-way mirror which is reflective on one side and transparent on the other.
- Clean it. Make sure to use a microfiber cloth when cleaning and wiping. Spray it with glass cleaner then use the microfiber to clean it on both sides.
- Peel the film. As you peel it, you can spray it with soapy water to prevent it from sticking to itself. You can also spray it with spray water before placing the film. This will help to ensure the film is applied smoothly. You can then use a credit card to squeeze out air pockets.
- Once done, let it be for 2 hours to give the film time to dry. Once completely dry, you can put it back into the frame and ensure the tinted side is facing up because you want it to face the mirror once you install it.
- Obtain a custom cut glass mirror and polish it with a cleaner. Ensure the dimensions of the mirror are the same as those of the glass in your shadowbox.
- Measure the inner sides of the frame and cut your LED rope to fit inside as per the measurements made. There are lots of LED lights to choose from ranging from one color, white or multi-colors. When cutting the LED lights, cut along the black lines that indicate where to cut to avoid damaging them. Fix the LED strips along the inside perimeter of the frame.
- Once the LED lights are in place, reinstall the interior frame pieces.
- Use a saw to create a small gap in the frame for the LED external wire. This is to pass the wire that you need to plug into a power source for lighting.
- Place your custom glass mirror in the shadowbox and ensure the reflective side is positioned to face down towards the glass and LED lights.
- Fold the metal tabs to ensure the shadowbox is closed at it was from the onset.
- Turn your LED light on and your infinity mirror is done!
3DIY ancient makeup mirror using an antique mirror
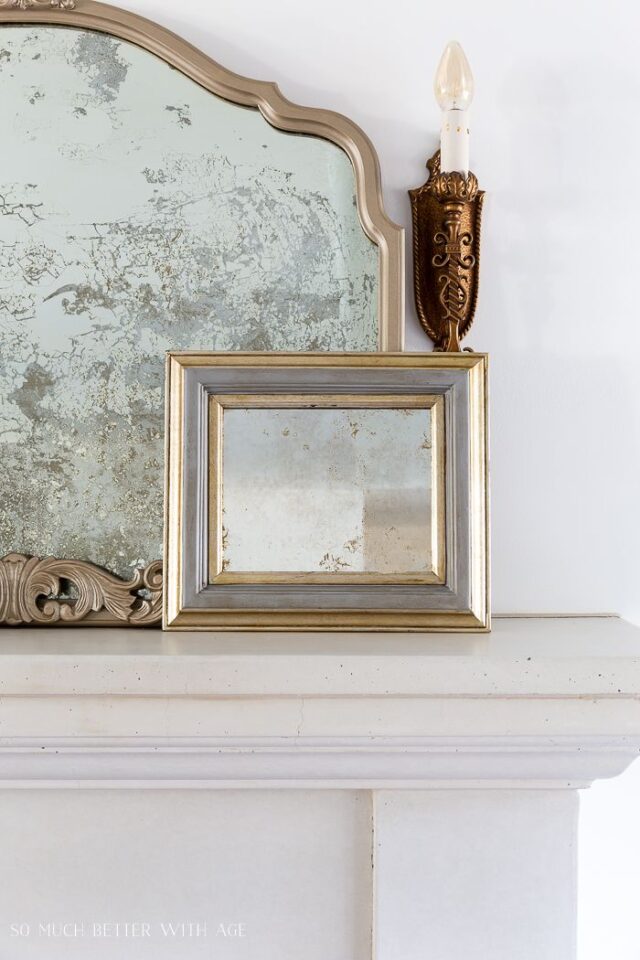
Making a DIY ancient makeup mirror is as easy as starting with an ordinary custom glass mirror and then antiquating it with supplies that are readily available at your local store. Here is a step by step guide for making your own makeup antique mirror.
Materials needed
- Muriatic acid
- Spray bottle
- Plastic putty knife
- Framed mirror
- Gloves
- Paper towels
- Aerosol paint stripper
- Funnel
- Protective eyewear
- Antique paint (e.g. gold spray)
- Cotton rags
Steps to follow
- Start by wearing protective goggles, gloves and a ventilation mask and keep these on until you are completely done with the project.
- Cover your workspace with newspapers to protect it from any spillages that might occur
- Disable the framed mirror by removing the cardboard and sliding it out of the frame.
- Spray a generous layer of paint stripper on the back of the mirror and leave it on long enough to loosen the layer that protects the mirror’s silvered finish.
- Remove the loosened paint using the plastic putty knife.
- Clean the surface with a damp piece of cotton cloth and dry it off with a dry one.
- Pour muriatic acid into your spray bottle. Use a funnel to avoid spillage and wastage.
- Spray your muriatic lightly on three random areas on the back of the mirror. Give it some time to remove the reflective backing at the areas of contact and remove the acid. You can do this by blotting out the areas you sprayed using a paper towel.
- Coat the mirror with a generous layer of antique spray paint.
- Reassemble the mirror by placing it back into the frame and reinserting the supporting cardboard.
- You can now place your DIY antiqued mirror on your dressing table or in your bathroom.
2DIY glass table using wine drum
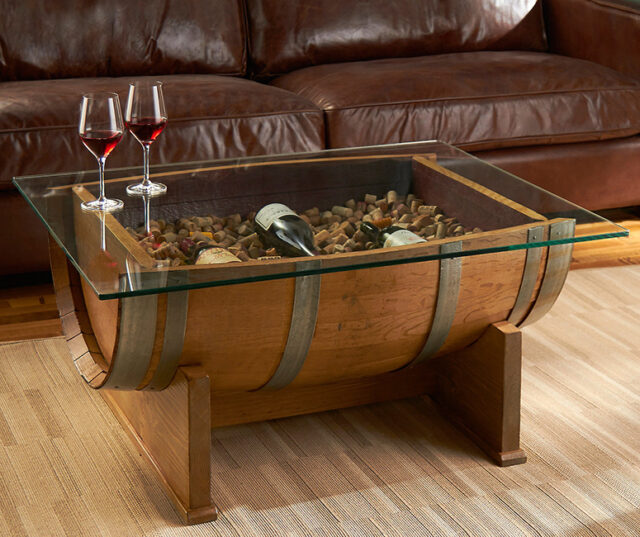
You can use an old wine drum to make an awesome coffee table that combines an antique and a modern look. Here are the steps to follow and the materials you will need.
Materials you need
- Wine drum
- Dremel
- Jigsaw
- Drill
- Sandpaper
- Sheet metal screws
- Electric sander
- Shop vacuum
- Wood glue
- Tie-down strap
- Custom glass tabletop
- Wood stain
- Shop vacuum
- Sanding sponge
- Corks
- Rubber spacers
- Wood glue
Steps to take
- Wash your barrel using a hose with some mild soapy water. Ensure the cork is in place as you wash it because you don’t water to get water inside it. Once washed clean, give it a day or two to dry properly.
- Either lacquer your barrel to get a vintage look or sand it to get a more refined look depending on your preference.
- Screw the rings in place because once you cut the barrel in two halves, there will be nothing to hold them in place.
- Use a Dremel to cut through the rings and then use a jigsaw to cut through the rest of the barrel.
- Once you have cut your barrel, make and insert your stands. For this, you can use wood purchased from a lumberyard or from a store and cut the wood as per the shape of the barrel. You can use trimmed cardboard as a template of the wood size you need to avoid making mistakes.
- Once you have cut the wood properly, insert it into the barrel and sand it as per your liking. Use wood glue to attach the stands and the barrel.
- Attach some rubber spacers for the glass top to rest on. It might also be a good idea to attach the rubber spacers for the feet.
- Before placing your custom cut it, you can fill your barrel with some décor items. For instance, you can fill it up with corks, marbles, etc. You can then adjust it in place and your table will be ready.
1DIY Colorful windows using painted glass
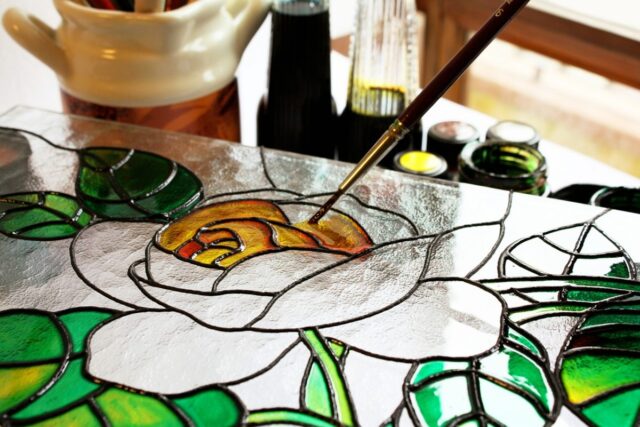
Irish pub windows and cathedral windows are synonymous with stained glass. But that is not the only place where they can be used. You can also use painted glass for your interior décor at home. Here are some simple steps that can help you to lighten up your interior décor with painted it.
Materials you need
- Custom cut glass panel
- Marker
- Scissors
- Ruler or a T-square
- Backdrop paper
- Glass paint
- Lead adhesive strip
Steps to follow
- Layout the backdrop paper and then outlines of the panel. You can then design the patterns you want on the stained glass using the marker
- Lay the custom glass panel on the backdrop paper and place lead strips all over the marked lines. You should have cut the strips using the scissors such that they fit the marks made. Use a stylus to press them into position
- Outline each section with paint. Keep the lines straight and go all the way to the edges of the strips
- Fill all the outline areas with different color paints
- Once done, leave it for a couple of hours to dry and then you can frame it and hang it on your wall to create the illusion of a stained-glass window.
Conclusion
It is always a good idea to go with tempered glass for your DIY projects because it is more durable and because it is less hazardous in the event of breakage. Also, the custom cut glass gives you the flexibility and chance to get glass in all manners of dimensions depending on the project. At FabGlassandMirror, you can rest assured that you will get all these and more for any of your glass interior décor needs.


