
In the past decade, we’ve seen consumer technology go from the cool idea of massive distribution success. We’ve seen the rise of phones and the stretched bounds of cloud-based software. Entire government databases are in the cloud now. One such technology that emerged from this jump forward is the 3D printer. The 3D printer went from relative obscurity to a hobbyist’s dream. They were massively expensive at first, like most new tech, but slowly built a market for the average, everyday individual to do as they please. From there it went to all sorts of sectors, its ingenuity and relative ease of use contributing to everything, from architecture to medicine. But the real bread and butter of the 3D printing world is home use, particularly for artists.
3D printing allowed creatives to make their figurines and models, all with the futuristic edge we always dreamed of. Imagine printing out your own intergalactic fleet, or designing your personal take on Frank Herbert’s Dune Sandworm. But how does one actually do it? If you’ve been making miniature figurines the old fashioned way, you’re in for a treat. Here we’ll explore the ins and outs of editing, reviewing, and ultimately making your 3D printed miniature figurines. Also, feel free to visit Replicatorwarehouse.com.
1. Pick Out a Printer
Before anything, you’re going to have to pick out a 3D printer. Depending on your budget, you can scale from massive truck-sized outfits to simple tabletop ones. More likely than not, you’ll be going with the latter. If you take your average miniature starter set, it’s going to set you back a few hundred dollars. According to printingatoms.com, if you’re looking to buy your very own printer, one of your best overall is going to be the Lulzbot Mini 2. It may be a bit pricier than the other models but granted that this hobby is going to last a lifetime, it makes sense financially. It gives you immediate access to the best and newest add-on features and updates at the fraction of the cost. Stick with that, the Flashforge Creator Pro, or the Elegoo Mars if you’re trying to save a bit more on a resin printer.
2. Downloading/Uploading the Image
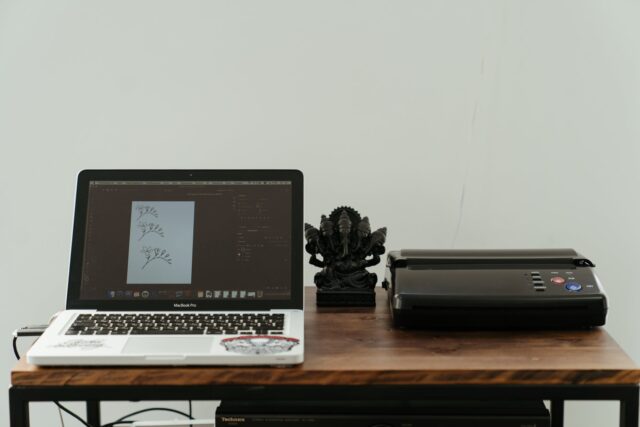
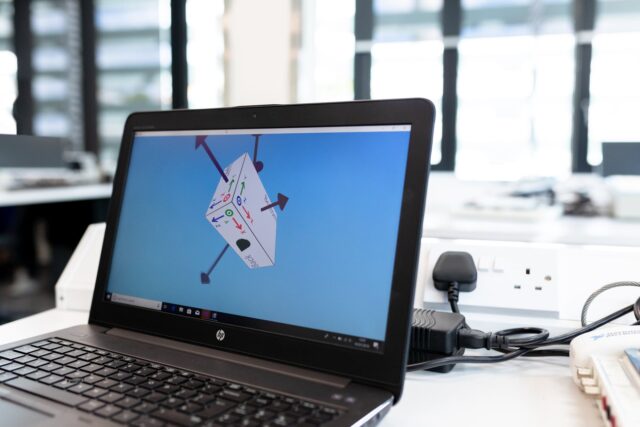
The first thing you need to do is import your designs. There are plenty of pre-set designs out there for the big and popular sets. The only thing you’ll have to do is import them to the software you’re using, adjust the settings to fit the mold, and print. If you’re basing it off of your drawings, it’s going to take a bit more time. Scan your drawing with appropriate software (there’s a bunch of free tutorials on YouTube). From there you’re going to start with individual blocks of anatomy. Remember, using any software to create this sculpture, be it Blender or 3D AutoCAD, is going to take keen attention to detail. After you’ve blocked out and chosen the general dimensions of your figurine, sculpt out the details.
You can either treat it like a marble statue and “chip” away at the default model block or have individual pieces that you’re trying to print out and glue together. Either way, paying attention to things like bony landmarks, the thinness of a particular part (ankles have to be thick enough to support the mass of the figurine, the neck should be dense enough to support the head), and striations in obvious musculature or hair while creating the design will limit design flaws in the actual printing. It’s a bit of a trial and error process to give you an appropriate learning curve. Nobody gets it perfect the first time.
3. Using Kinect
Another technique that’s used by special effects firms and startups is using an Xbox Kinect. Using one of these allows you to scan existing things in the 3D space such as people, pets, and any other object. Again, you can use any compatible software, but the easiest is bound to be Reconstruct, especially for people. It allows one to play with more options and gives people the freedom to work with detail. When using the Kinect, you get about 15 feet in radius, give or take, to clear out as your “scan” area. Since it’s using two cameras, it doesn’t work well with shiny objects, as they dent to obscure the shape by reflecting backlight.
This is why when you see those “behind the scenes” clips of fighting games, these people are always in a matte getup or a non-reflective green screen. Also, do this indoors and close the curtains. Light from the outside can also obscure the scan. Once you’ve got the scan, you can “move” and “crop” to get the details you’re looking for. If you have any added gear like a sword or a battle-ax, you can scan those separately and add them in.
4. Printing
Once you’re done, import it to your printer software and scale it out. Half the fun of printing 3D models is painting them the way you want, so we’re going to assume that’s what you’re going to do. If you’re using the figurines for games like Warhammer or Dungeons and Dragons, most of your figurines are going to be about 2 square inches. Keeping it around that size gives you more stability in painting it, ensuring the parts won’t fall due to mass. After you hit print, sit back and relax. It’s going to take a bit of time. As of now, the printing time, depending on the details of your figurine can take up to a few hours. A simple ring takes 10 minutes, of course. But an orc with a spiked mace takes quite a bit longer.
There you have it! A quick and dirty guide to how 3D printing is done. Mind you, there are a lot of details in terms of settings and cropping relative to the software being used. Going into detail would take up a novel. But if you’re interested in getting into 3D printing, those details will be a cakewalk. Being part of the active modern tech is like nothing else. Having that kind of control and agency over miniature sculpting is a dream come true. It’s 100% worth it.


